


When we were having our ceiling patched, we decided it was time to not only get the dining room light centered over the table after switching from recessed to a chandelier, we decided we'd add an outlet for the treadmill and add 2 rough in's for ceiling fans in the bedrooms. (A God send) That's all fine and good but now that the color palette is changing in the studio, the light color fan blades or darker walnut-esque veneers weren't gonna cut it. I decided to see if I could repaint them myself. This is my story.
Here's what the ceiling fan looked like before. Not bad but not the motif I'm going for in the office/studio.

When you get a ceiling fan, you basically have 2 choices on the blades... light wood or dark wood unless you specifically get black.

Time to tape the sides since they're made of a different material than the top. I found I have mad taping skills, yo.

Fold the tape gently onto the back so if it turns out like crap you still have a side to revert back to. I knew that if it didn't work out, I'd want the darker blades since the furniture is going to be monochromatic.

Time to get my handy dandy 220 very fine grit sandpaper!

I sanded the shiny veneer off the top until it was dull.

The one on the right is the one I sanded completely to give you an idea of what it should look like in comparison to each other.

Here's what they all looked like sanded and honestly, if you were going for that beachy look, you could wipe the blades off and put a coat of poly on them and be done. It looked much better in person.

Here are the cast of characters. Rustoleum Primer, Semi-Gloss Black Paint and Matte Clear.

Once I sanded the blades, I needed to wipe them down with a microfiber cloth to attempt to get most of the dust off. Next time I would probably have 2 or 3 available.

Then it was time to prime the blades. So I did a pretty thin coat of primer and prayed.

Then it was time to sand the primer with the 220 grit sandpaper because the primer makes it very rough and that wouldn't look so hot under paint. After I sanded it, I wiped it back down with the microfiber.

I put on a coat of the black semi-gloss paint. This was right after I did it so it doesn't have the look I'm going for yet. I let dry for about 8 hours.

Despite the angle, this actually looked okay but I put on another coat, let it dry and it looked about the same. So I put on the matte finish spray which about gagged me out. Strong stuff!

This is part one of where seasoned DIYers will cringe. I decided to see if the paint on poly would look better and it did look nice but it was WAY too shiny for what I wanted. So once that was fully dry (look away) I sprayed the matte back over the top of it. This is about the time I began to freak out because I realized I had no back up plan and I didn't see where Home Depot sold replacement blades for our model so I was hyperventilating a bit over the fact I jumped into this with no plan B. I guess failure wasn't an option?

Believe it or not, it ended up looking pretty dang good so I declared it time to remove the tape.

I have to say I was pleased with how they turned out.

The Mr put the blades back on for me and it looked like a brand new fan!
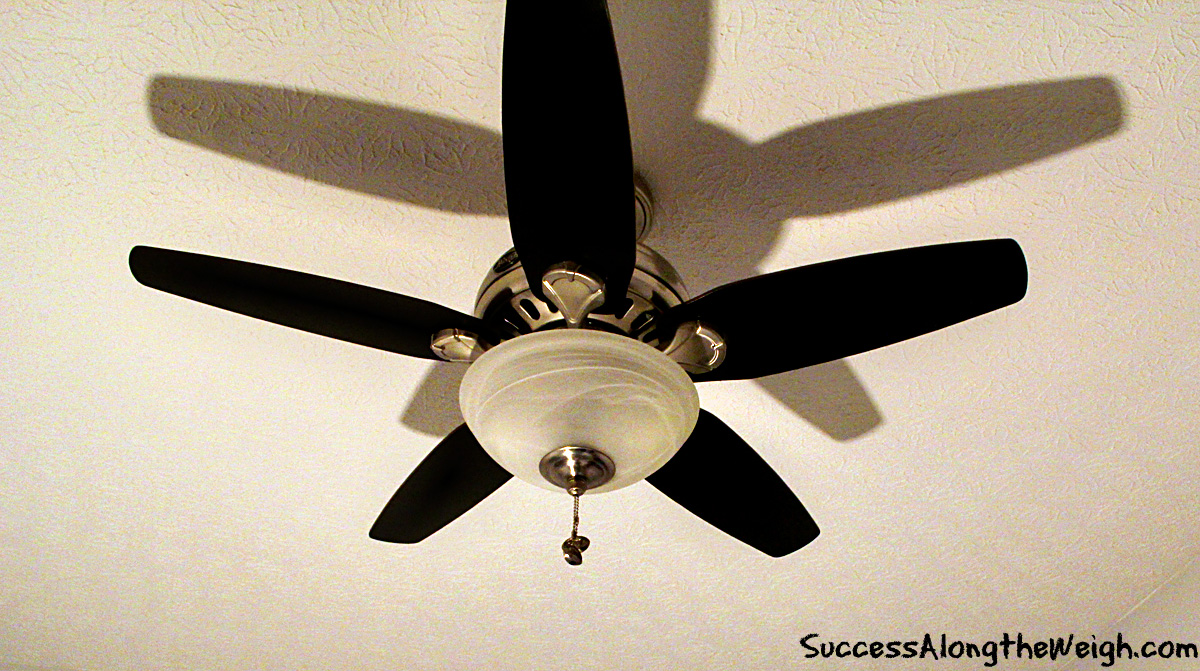
In the end, I'm really glad I did this! I love the look of it and it was a cheap fix over replacing the fan. It's up and running and ready to collect dust. (I mean seriously, how do those things collect so much linty dust!?)

I know this wasn't perfect and I don't claim to be some DIY diva now but if I can slowly build my confidence with these and other projects I'm working on, I can begin to look at furniture in a different way or maybe reuse things that I would've just bought new for no good reason because I didn't want to invest my time. I hope this helped someone get a little confidence that they might not have had before that if a complete novice like myself can do this small project that you can too!
What small DIY project could you tackle at your home? Do you think you will?
====================
Don't miss another post! Subscribe via email or RSS feed.
I love the way they look in the room and you did a great job!
ReplyDeleteThat looks really nice!! I wouldn't have thought of painting the blades, I'll have to keep that in mind. I'm a DIYer because I can't stand spending money on things I can probably do myself. I don't have any projects scheduled, I'm still cleaning!! (And then it will be warm outside and I'll say, "Next winter, I should think about . . . . . ")
ReplyDeleteI think that it looks fantastic! We're going to do the same this summer for our mini kitchen remodel.
ReplyDeleteI love the way the fan looks! I don't get to do much because my husband is a huge DIYer and it usually doesn't include me. Might be because I can draw (or cut) a straight line.
ReplyDelete:)
Looks fabulous! Great job!
ReplyDeleteLooks good! What would we do without Rustoleum?
ReplyDeleteI just painted an upholstered chair (with almost successful results), and I have my eye on another one that's hanging out in my spare room.
That looks fabulous! You did a great job!
ReplyDeleteYou did a great job, and the finished product looks like it was meant to be that way! When I started to answer your question, I didn't have any DIY projects in mind, because right now we're in a rental. But then I thought...well I DO have those chipped and mismatched chairs that we've gathered from yard sales to replace the original chairs from my mother's dining set. Those unfortunately wound up as kindling with my now-grown kids' treatment of them. I wonder what I could do with the replacements? It would involve re-upholstering the seats too. Will have to investigate and get back to you.
ReplyDeleteWow, it looks so much better! I think that light color of wood was in style for a while because our last apartment had all the trim in that shade & I'm pretty sure we had that same fan (or one very similar, at least). I like the black blades more. :)
ReplyDeleteYou did awesome, I love DIY projects!!!
ReplyDeleteLove the painted blades. Glad to know they can be painted. I've painted the metal pieces and changed out the shades. I'll need to try painting the blades next time.
ReplyDeleteThanks so much everyone! I'm glad you enjoyed it and I can't believe how easy it was, relatively speaking. It takes less time than you'd think and there's a nice sense of accomplishment that comes along with it!
ReplyDeleteThis was great to see! I'm so intimidated by DIY projects, even though I know the ones I'd choose to do wouldn't be hard. The fan turned about beautiful!!! Way to go!!
ReplyDelete